Previous Versions is an incredibly useful feature built into Windows 7, which allows the OS to record and view earlier versions of files without a flux capacitor. Here’s a detailed guide to using this excellent feature.
This feature goes beyond the functionality of the Recycle Bin as it allows you to:
- Recover files you may have permanently deleted.
- View or restore a version of a file which you have saved over.
- Allow you to compare current and/or previous versions of a file side by side.
With a little bit of dedicated hard drive space, an automation script and scheduled task, you can leverage this feature to guard against inadvertent file deletions and overwrites which traditional backups may not adequately cover.
Using Previous Versions: A Simple Demonstration
Before covering the configuration options, we are going to demonstrate the awesome power of previous versions. If you are already familiar with this, you can jump to the section about configuration.
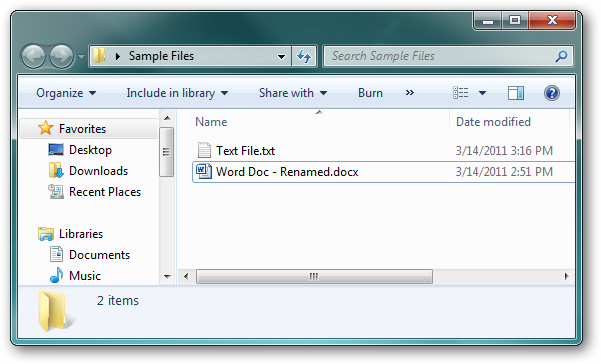
Assume we have a folder on our desktop which has 3 files which have previously been captured as previous versions. We will use these files throughout the demonstration.
Making Changes to the Original Files
Now we are going to permanently delete (Shift+Delete) the Excel file,
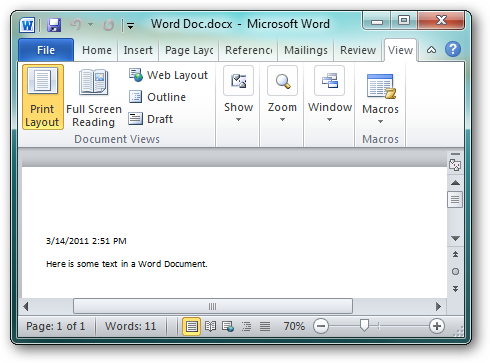
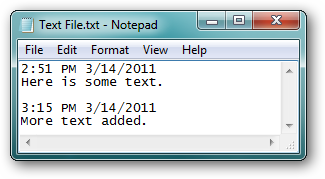
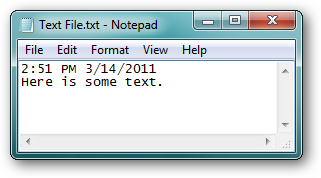
edit the text file,
and rename the Word document.
Recovering the Original Files
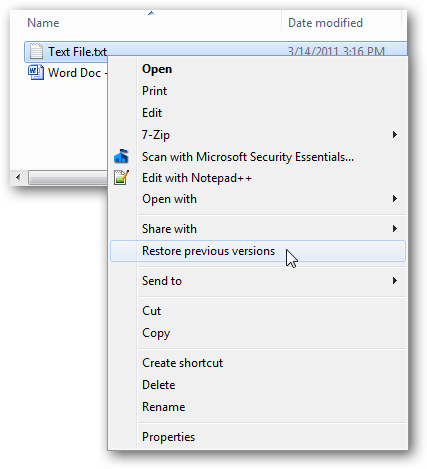
Once the text file is closed, we lose the ability to undo our changes. So in the event we need to recover a previous version of the file, simply right-click on the file and select the Restore Previous Versions menu option.
In the Previous Versions tab of the file’s Properties dialog, you will see all of the previous versions (or snapshots) of this file which have been captured. Select the version you want to view or restore from.
- Clicking the Open button will open the the selected copy in the default program. This is the file at the time to snapshot was taken.
- Clicking the Copy button will prompt you for the location where you want to create a copy of the selected version.
- Clicking Restore will replace the current version with the selected version. You will be prompted to confirm you really want to do this.
But what about the Word Document we renamed or the Excel file we deleted? When you open the previous versions of the renamed file, there is nothing there. If a file is deleted, there is obviously no file to view the previous versions of.
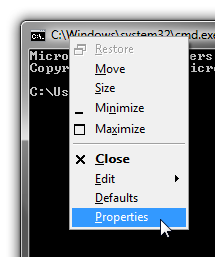
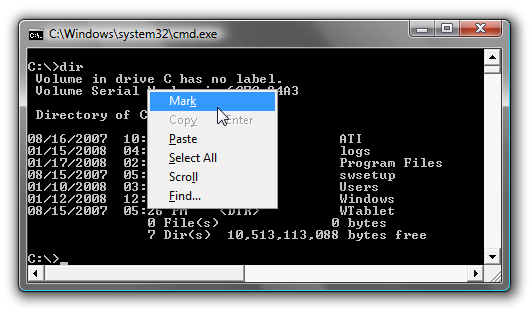
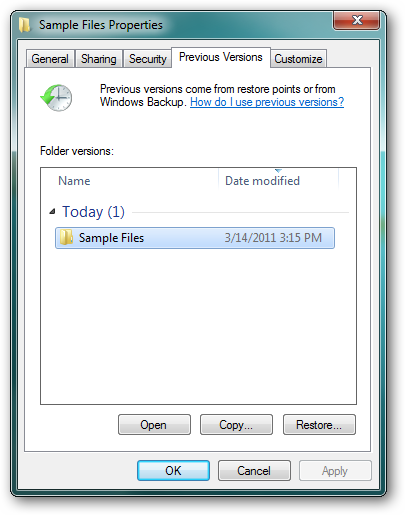
In the event of a file being renamed or deleted, you have to view the previous version of the the containing folder. You do this by right-clicking on some white space in the folder and selecting the Properties option.
In the Previous Versions tab, you can see snapshots made of the folder as a whole.
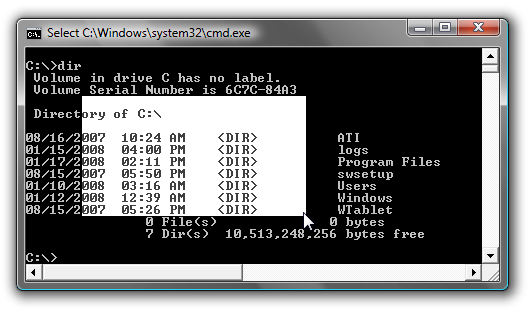
By double-clicking the folder in the list or clicking the Open button you can view the contents of the folder at the time the snapshot was made. You can see here that the Word Document has the original file name and the contents also contain the Excel file which we permanently deleted.
From here you can view or copy the respective file versions. Additionally, you can use the Copy and Restore buttons in the Previous Versions tab exactly as you would have against an individual file.
Recovering a Deleted Folder
What about the case where an entire folder is deleted?
Currently our Sample Files folder is on the desktop, so we are going to permanently delete (Shift+Delete) it.
In order to recover this folder or a file inside of this folder, we have to view the previous version of the parent folder. In our case the desktop.
Unfortunately, if you right-click on the desktop, there is no Restore Previous Versions or Properties option.
So in order to get to this, we need to get to the Windows Explorer view of the desktop folder.
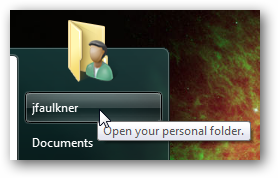
Open your profile folder from the Start Menu.
Inside of the Windows Explorer view of your profile, there is a Desktop folder. Right-click on this folder and select the Restore Previous Versions option.
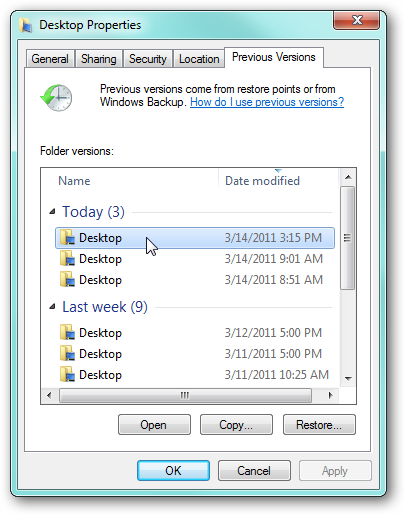
As you can probably guess, you can now view historical snapshots of your desktop contents.
Open the respective previous version and you can view the contents of the desktop at the time of the snapshot. Notice this snapshot contains the folder we permanently deleted previously.
By opening the Sample File folder, we can now recover the contents of what we previously deleted.
While this is just a very basic example, it demonstrates just how powerful this function is. The same methodology can be use to recover files from almost any folder on your computer, not just your documents.
Setting Up and Configuring Previous Versions
Previous versions of files are recorded as part of a System Restore Point. So whenever a restore point is created, if you have the option set to capture previous versions of files, this data will be recorded at that time. It is important to note that this function is smart enough to know that only changes to documents should be recorded. For example, if you have not updated a document in 3 months, a new snapshot is not captured each time a restore point is created.
To view or change your current settings, open the System item in the Control Panel and click the System Protection item. If you get a UAC prompt, select the option to continue.
Under the System Protection tab, select the drive containing the files you want to monitor for previous changes and click the Configure button.
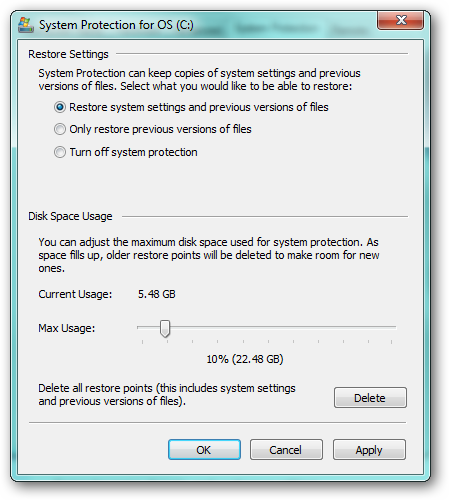
Under the Restore Settings section, make sure you have one of the options which includes previous files selected.
Under the Disk Space Usage, set the amount of space you want to allow for storing previous versions of files. The more space you allow here, the farther you can “go back” to a previous copy of a file. However, by dedicating space for this feature, you lose the respective amount of storage for new files so be sure to take this into consideration when making this setting.
Apply your settings and System Restore will start using them immediately.
Creating System Restore Points
As mentioned above, previous versions are captured as part of a System Restore Point. Restore points are created automatically by Windows whenever certain installations are done and also, according to Microsoft documentation, once a day (although my observations do not support this). However, if you want to take complete control over when restore points are taken, you can create them yourself either manually or via a scheduled task.
Manually Creating a Restore Point
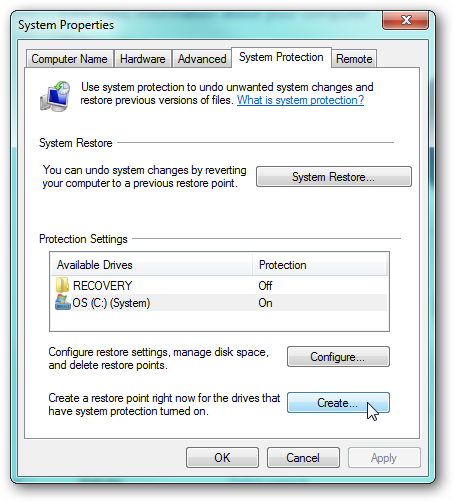
To create a System Restore Point manually, in the System Protection tab in the System Properties dialog, simply select the respective drive and click the Create button.
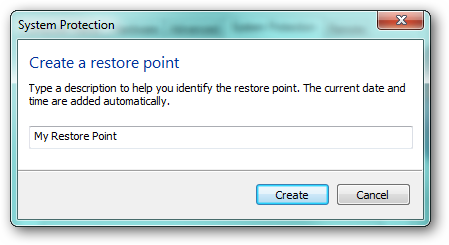
Give the new restore point a name and click Create.
Automating the System Restore Point Creation
If this function is something which you intend to use heavily or simply want some additional insurance against accidental file overwrites and deletes, creating a Scheduled Task to force the creation of a System Restore Point is the way to go. While there is not a simple command you can run to create a restore point, we have provided a VBScript file which allows you to automate the process of creating a restore point. You can download this script at the end of the article.
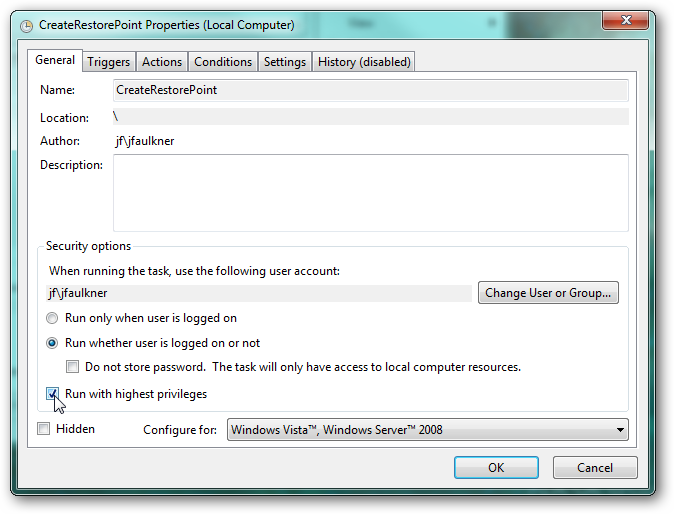
Create a new Scheduled Task which runs as an administrator on the respective machine. Make sure you have the Run with highest privileges box checked.
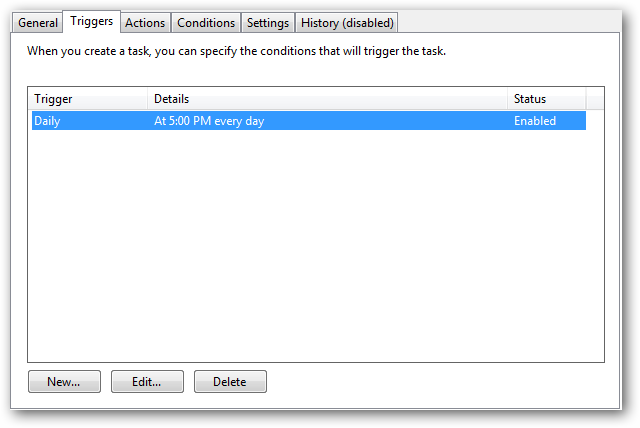
In the Triggers tab, configure how often you want a restore point created. Remember, snapshots of files are captured as part of the System Restore Point.
In the Actions tab, configure the task to run the CreateRestorePoint.vbs script provided at the end of the article.
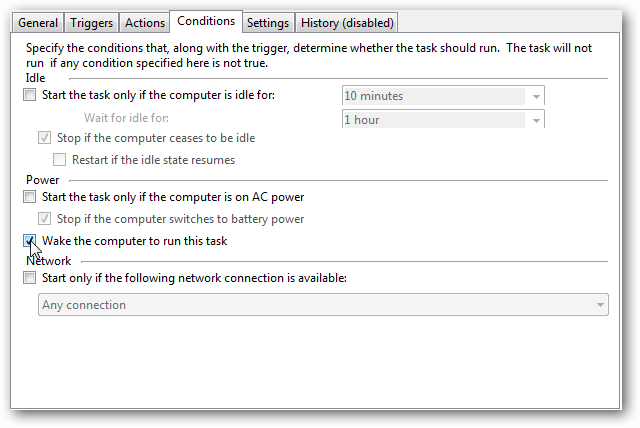
In the Conditions tab, select the option to Wake the computer to run this task.
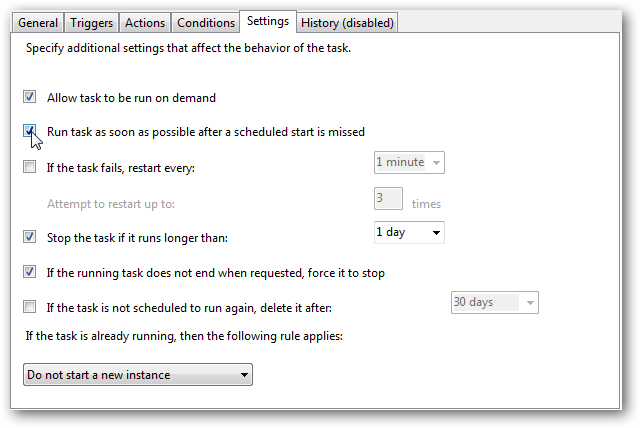
In the Settings tab, select the option to be able to run the task on demand as well as the option to run the task as soon as possible after a missed schedule.
Apply your changes and you are all set.
Previous Versions vs. Backups
As you can see the previous versions function is quite powerful. However, to be clear, this is not a replacement for regular system backups as it will not protect against drive failure. That said, previous versions offer several conveniences and functions that backups and file syncing services may not:
- Ability to view or restore deleted/overwritten files with just a few clicks (in the event your backup drive is not available).
- Ability to pick from several snapshots of the same file as they were captured at different points in time.
- Historical snapshots can be created at regular, frequent intervals to provide in-day protection against accidental “oops”.
- No uploading or downloading required.
Previous versions, however, make a great compliment to backups and file syncing services as it not only adds an extra layer of protection but also the conveniences from above at no additional cost.